FLANGE FACE FINISH
The ASME B16.5 code requires that the flange face (raised face and flat face) has a specific roughness to ensure that this surface be compatible with the gasket and provide a high quality seal.
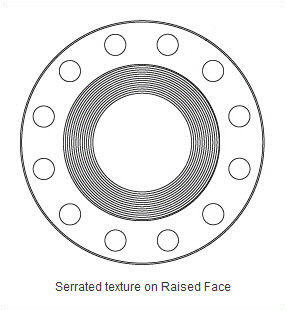
A serrated finish, either concentric or spiral, is required with 30 to 55 grooves per inch and a resultant roughness between 125 and 500 micro inches. This allows for various grades of surface finish to be made available by flange manufactures for the gasket contact surface of metal flanges.
• THE MOST USED SURFACES ARE

1. Stock Finish
The most widely used of any flange surface finish, because practically, is suitable for all ordinary service conditions. Under compression, the soft face from a gasket will embed into this finish, which helps create a seal, and a high level of friction is generated between the mating surfaces. The finish for these flanges is generated by a 1.6 mm radius round-nosed tool at a feed rate of 0.8 mm per revolution up to 12 inch. For sizes 14 inch and larger, the finish is made with 3.2 mm round-nosed tool at a feed of 1.2 mm per revolution.
2. Spiral Serrated
This is also a continuous or phonographic spiral groove, but it differs from the stock finish in that the groove typically is generated using a 90-deg tool which creates a “V” geometry with 45° angled serration.
3. Concentric Serrated
As the name suggests, this finish is comprised of concentric grooves. A 90° tool is used and the serrations are spaced evenly across the face.
4. Smooth Finish
This finish shows no visually apparent tool markings. These finishes are typically utilized for gaskets with metal facings such as double jacketed, flat steel and corrugated metal. The smooth surfaces mate to create a seal and depend on the flatness of the opposing faces to effect a seal. This is typically achieved by having the gasket contact surface formed by a continuous (sometimes called phonographic) spiral groove generated by a 0.8 mm radius round-nosed tool at a feed rate of 0.3 mm per revolution with a depth of 0.05 mm. This will result in a roughness between Ra 3.2 and 6.3 micrometers (125 – 250 micro inch).


0 comments:
Post a Comment